How to Set Up a Guest WiFi Captive Portal in 15 Minutes
No coding, no IT team. A standard access point, a branded splash page, and you're live.
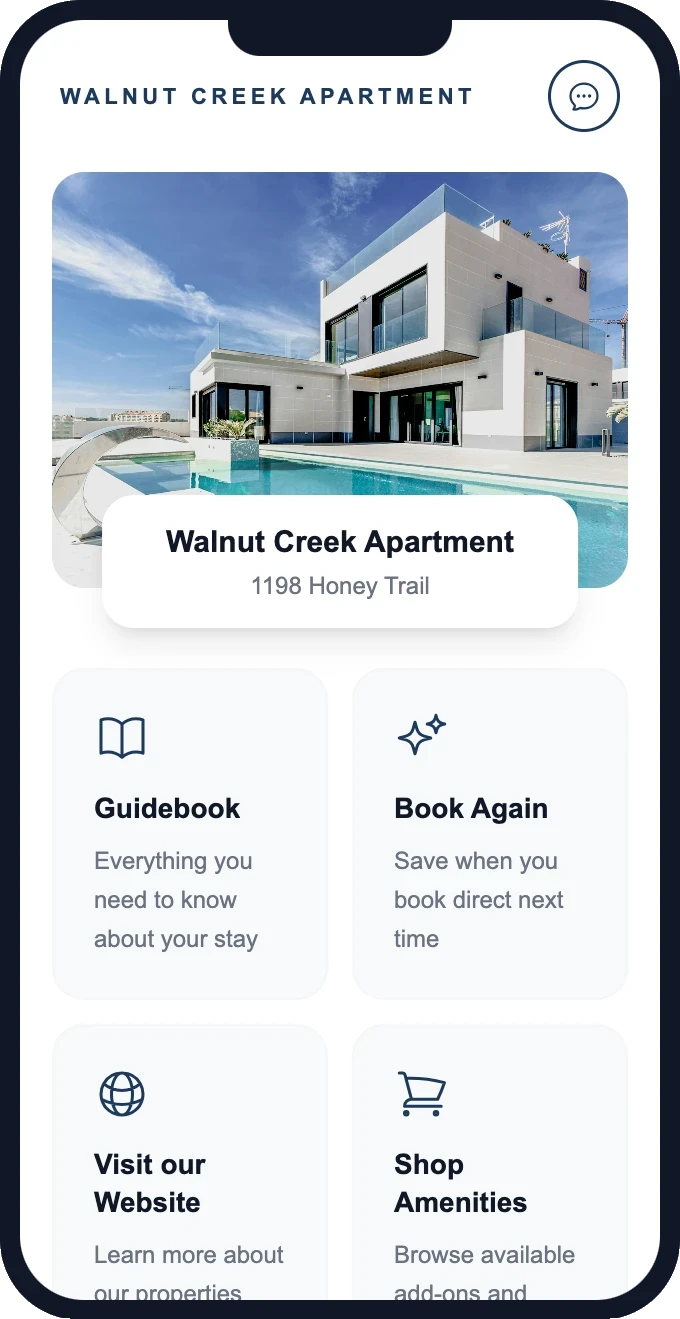
Setting up a WiFi captive portal used to require networking expertise, server configuration, and custom coding. Today, modern captive portal software handles all of that — you just bring a standard access point, pick a template, and start capturing customer emails.
Here's the complete setup process, step by step.
What you'll need
- A WiFi access point — any standard device (UniFi, TP-Link, Netgear). Around $50-$150. If you already have a guest WiFi router, it likely works.
- Your existing internet connection — the access point plugs into your router. No new ISP service needed.
- A captive portal account — this is the software that powers the splash page, stores emails, and runs campaigns.
- 5-15 minutes — most of it spent choosing your template and writing your headline.
Step 1: Connect the access point
Plug your access point into your existing router with an ethernet cable. Power it on. The access point creates a new guest WiFi network — separate from your private network. This keeps your business devices (POS, NAS, security cameras) isolated from guest traffic.
Tip: Many captive portal providers (including GuestWiFi) will configure the access point for you remotely, or ship one pre-configured. You literally just plug it in and it's live.
Step 2: Register the access point in your dashboard
In your captive portal software, enter the access point's MAC address (printed on the device or in its admin panel) and choose an SSID name (the network name guests will see, like "Free WiFi" or "CafeWiFi"). The software links to your access point and configures the captive portal automatically.
Step 3: Choose a splash page template
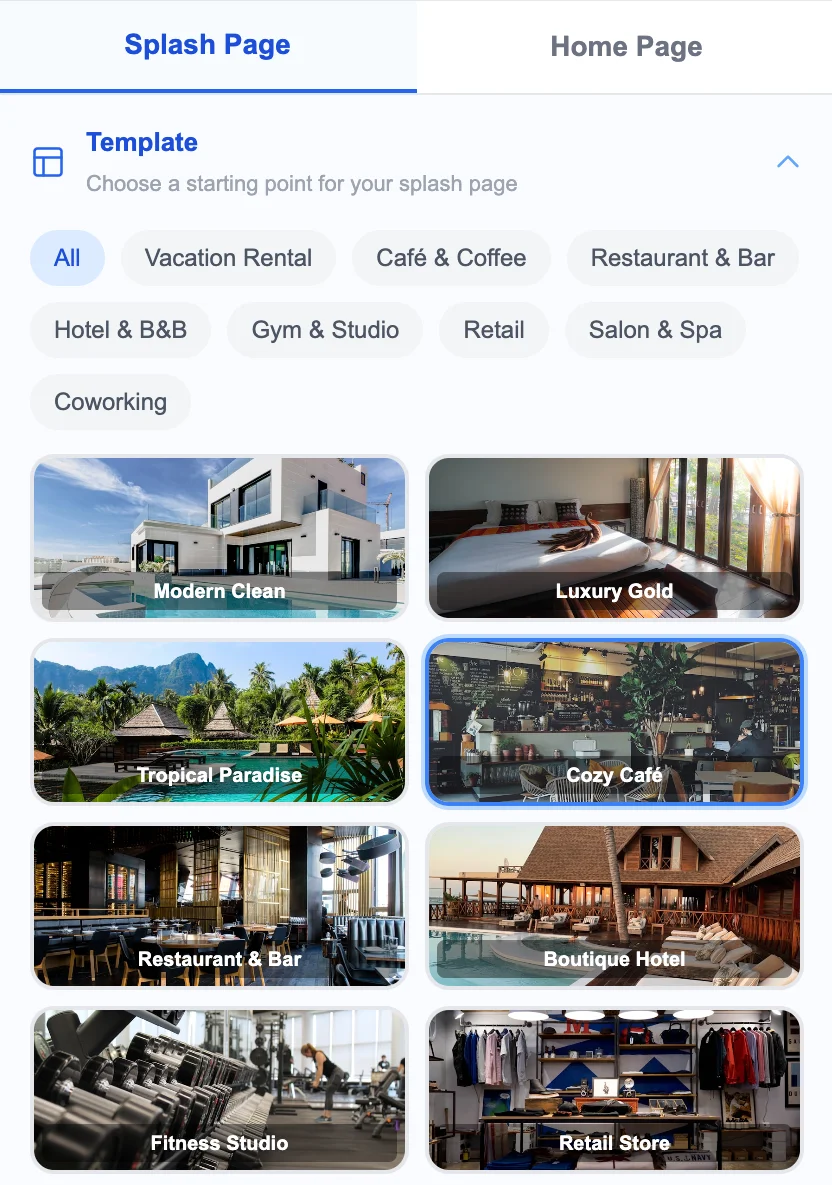
Most captive portal platforms offer pre-designed templates tailored to different business types — cafés, restaurants, hotels, gyms, retail, and more. Pick one that matches your vibe, then customize:
- Logo — upload your business logo.
- Background — use your own photo or a template stock image.
- Headline — e.g., "Welcome to [Your Business]. Connect for free WiFi."
- Form fields — decide what to collect. Email is standard. Name and phone are optional (fewer fields = higher completion).
- Consent text — the marketing opt-in message (required for GDPR/CAN-SPAM compliance).
Step 4: Set up your post-connection homepage
After customers connect, they land on your branded homepage — not just a "you're connected" message. This is where you can show:
- Your menu or current offers
- A "Book Again" or "Reserve a Table" link
- Your social media profiles
- A loyalty program link
- Local recommendations (for hospitality)
Think of it as a mini landing page your customers see every time they connect.
Ready to see this in action?
Set up takes 15 minutes. Free — we configure everything for you.
Step 5: Test it
Connect to your new guest network on your phone. You should see the branded splash page. Enter a test email, submit, and confirm you land on the homepage. Check your dashboard — the test email should appear in your contacts.
Step 6: Set up automated emails (optional but powerful)
Most captive portal platforms include email campaign tools. Set up at minimum:
- Welcome email — sent immediately after capture. Thank them for visiting, mention a perk for next time.
- Re-visit nudge — sent 7-14 days later. "We haven't seen you in a while — here's 10% off."
- Promotion broadcasts — send manually whenever you have a special (happy hour, new menu, event).
Common questions during setup
Will this slow down my WiFi?
No. The captive portal adds a one-time interaction (the splash page) before granting access. Once connected, speeds are identical to an open network. The access point handles the traffic — your internet speed is the bottleneck, not the portal.
Can customers bypass it?
No. The captive portal intercepts all traffic until the customer submits the form. There's no way to get online without going through it — that's the point.
What if I already have a guest WiFi password?
Replace it with the captive portal. Customers get online the same way (one tap), but instead of typing a password they enter their email. Same effort for them, massive upside for you.
Do I need to change my internet provider?
No. The access point plugs into your existing router. Any ISP, any speed tier. Nothing changes about your internet connection.
That's it — you're live
From here, every customer who connects to your WiFi builds your email list automatically. You didn't need a developer, an IT team, or even networking knowledge. The hardest part is choosing which template looks best.
Start capturing customer emails today
$15/month per access point. All features included. We set it up for you — free.
Get Started — Free Setup →No credit card required · Cancel anytime